Venomous Abyss November 5 Hotfixes: Heroic and Mythic
Smaller Blood Venom pools affect Heroic and Mythic. Other November 5 raid nerfs have narrower scope. Check the exact mode before changing your next pull.
 WoW AuditorGuides
A practical Heroic plan for Kith'ix: add priorities, Extinguish, fear dispels, Liadrin's sanctuary and the final Null Gate tank check.
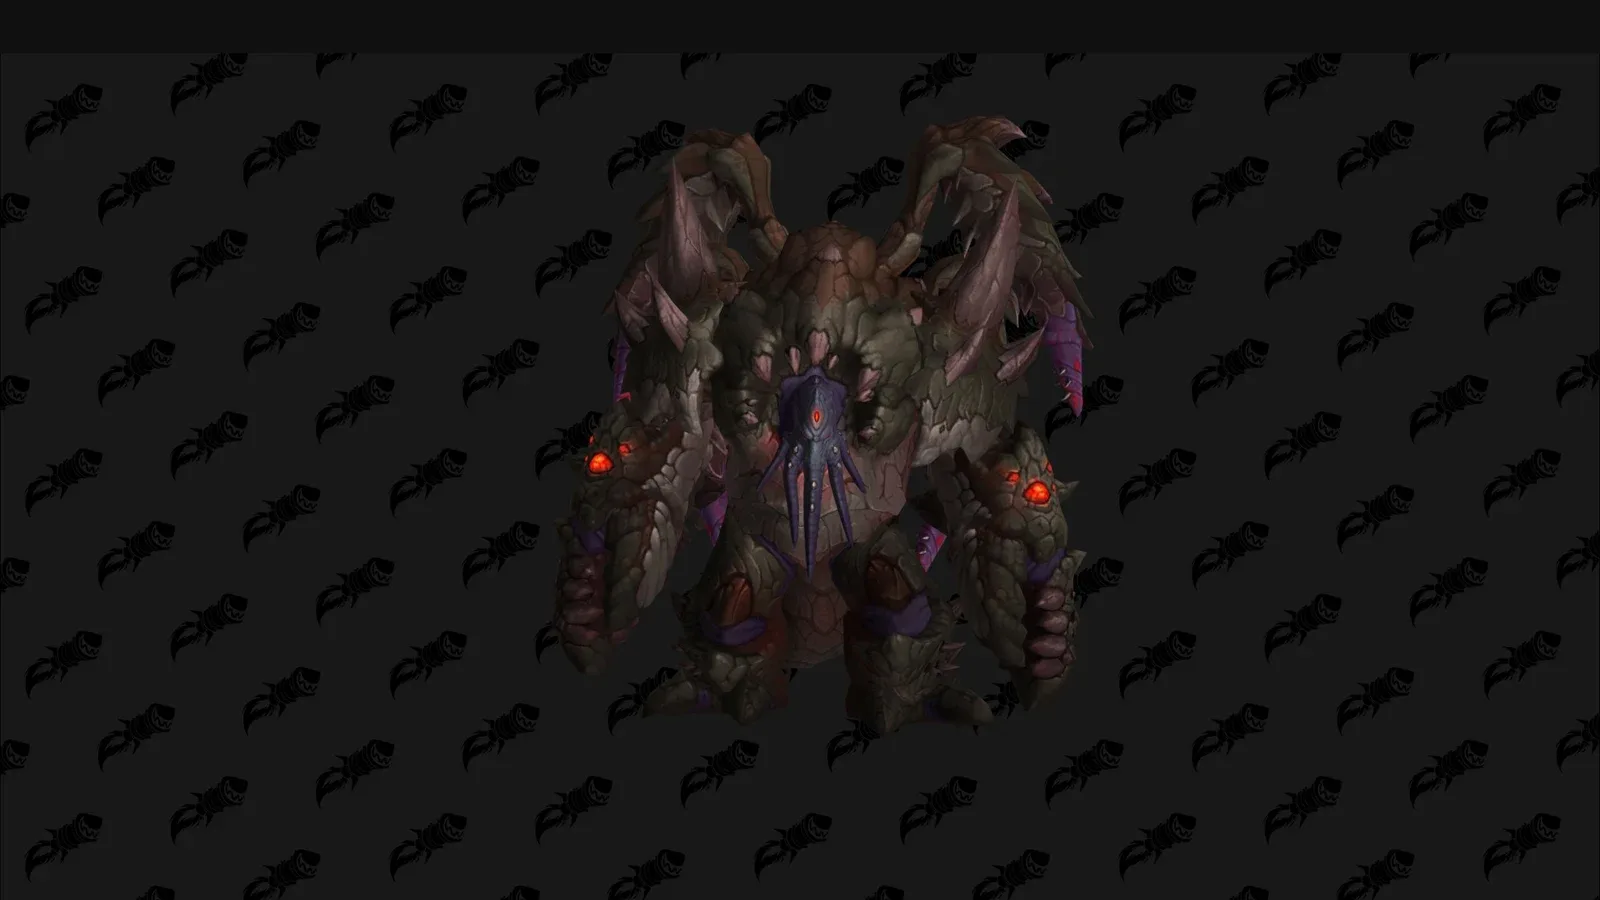
Control adds away from Kith'ix, arrive at 100 energy with the wave cleared, protect Liadrin during darkness, and enter the final burn with a reachable gate for each tank debuff.
Kith'ix rewards a raid that preserves room to act. An uncontrolled add wave steals healing; a badly placed Voidscar makes the next darkness harder; a badly placed gate can kill the tank during an otherwise promising finish. Treat these as linked decisions, rather than a list of unrelated casts.
This guide covers Heroic in Retail Midnight 12.1.5, checked on 4 November 2026. Blizzard's update overview confirms the live raid. Mechanics below were cross-checked with Method's encounter breakdown and Raidstrats' Heroic guide with Consequence. The suggested assignments are a practical starting plan, not a compulsory raid composition.
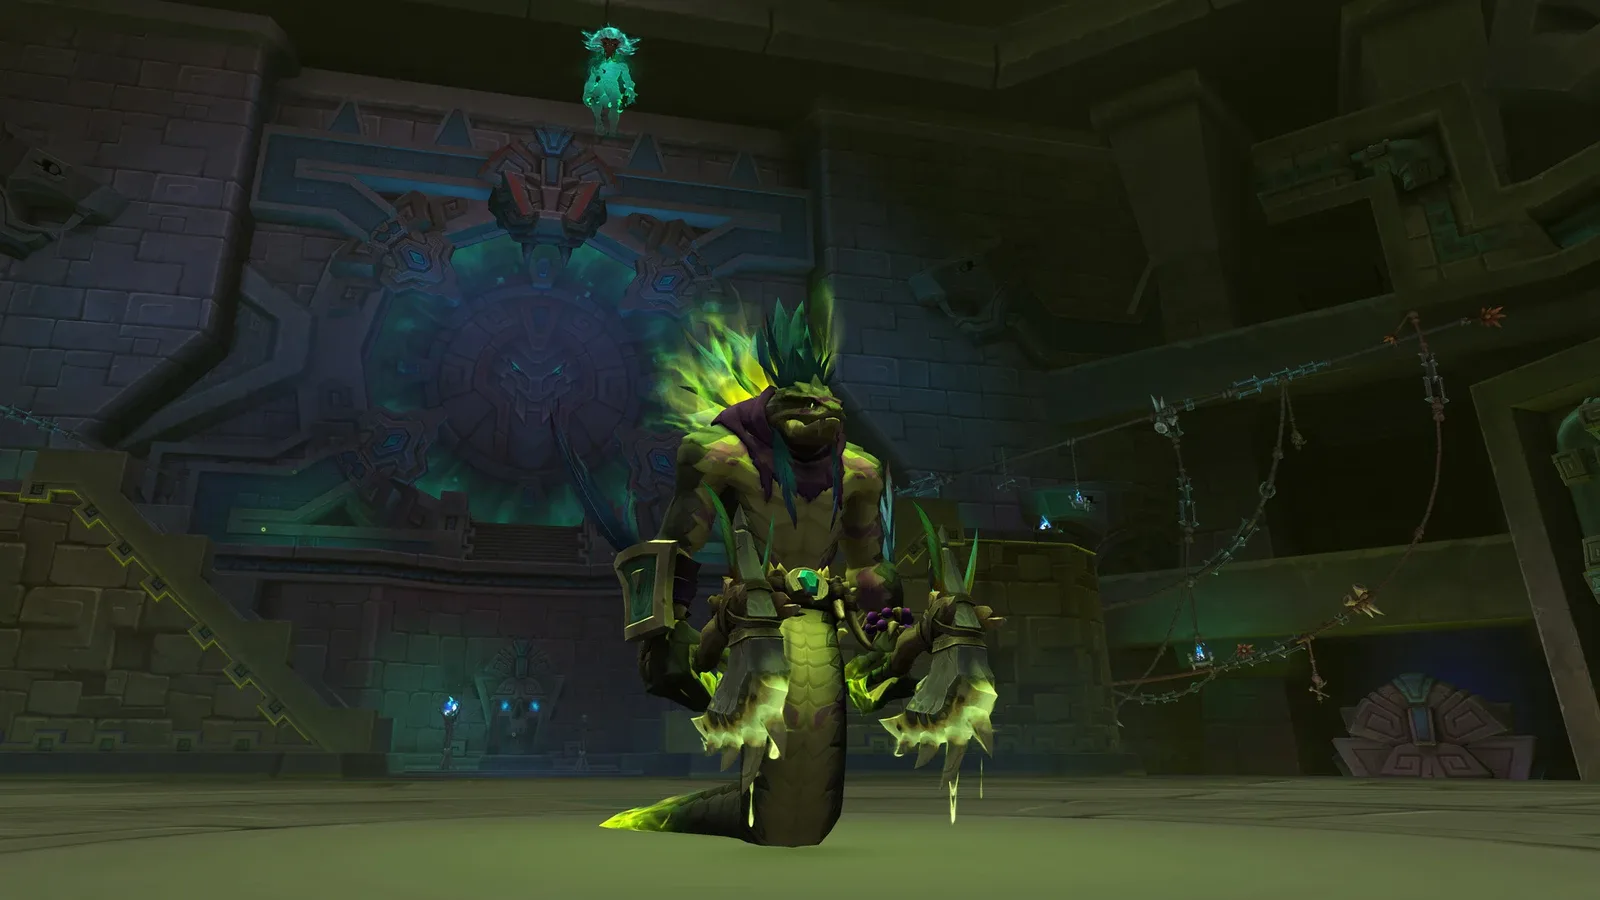
Cover: authentic game model of Kith'ix, viewed in Wowhead’s 3D viewer; © Blizzard Entertainment. This is a model reference, not a combat screenshot. Spell icons are Blizzard game assets, identified through the linked Wowhead records.
Ability names below are searchable English references. Open the linked Wowhead spell for its database entry; follow the Heroic instructions here rather than another difficulty’s default tooltip.
Extinguish — Take fresh Light's Embrace before the hit.
Light's Embrace — Time the pickup for Extinguish, not far in advance.
Abyssal Grasp — Healers: clear the healing absorb before the player is dragged away.
Commanding Presence — Keep the add group away from Kith'ix; face its frontal out.
Negation — Tanks: reach a usable Null Gate before expiry; preserve the next gate.
T = tank; H = healer; R = assigned player/group. Arrows show movement or sequence; dots represent players or objects as described in the caption. Schematic, not to scale or a map of the actual arena. English labels match the linked abilities.
Name the tank responsible for each add pickup, a player coordinating beetle detonations, healers handling fear dispels, and a rotation for intercepting fragments during darkness. Give each job a backup. The important question is who covers it when the assigned player is feared or moving.
Mark an add-killing area separate from the boss, leave a route toward Liadrin, and agree where tank hits will leave Voidscars. Do not put all three tasks in the same crowded lane. Save Bloodlust/Heroism for the final phase as an initial progression plan; reassess its timing only after your group can reliably reach that phase.
Commanding Presence protects nearby aqir. Move the tankable Venomous Hulk away from Kith'ix and use the stationary Voidweaver as the damage group's reference point. Kill the caster promptly: Nightfall becomes increasingly costly while it survives. Keep the Hulk's frontal away from players, including people approaching the add group.
Diagram · Commanding Presence
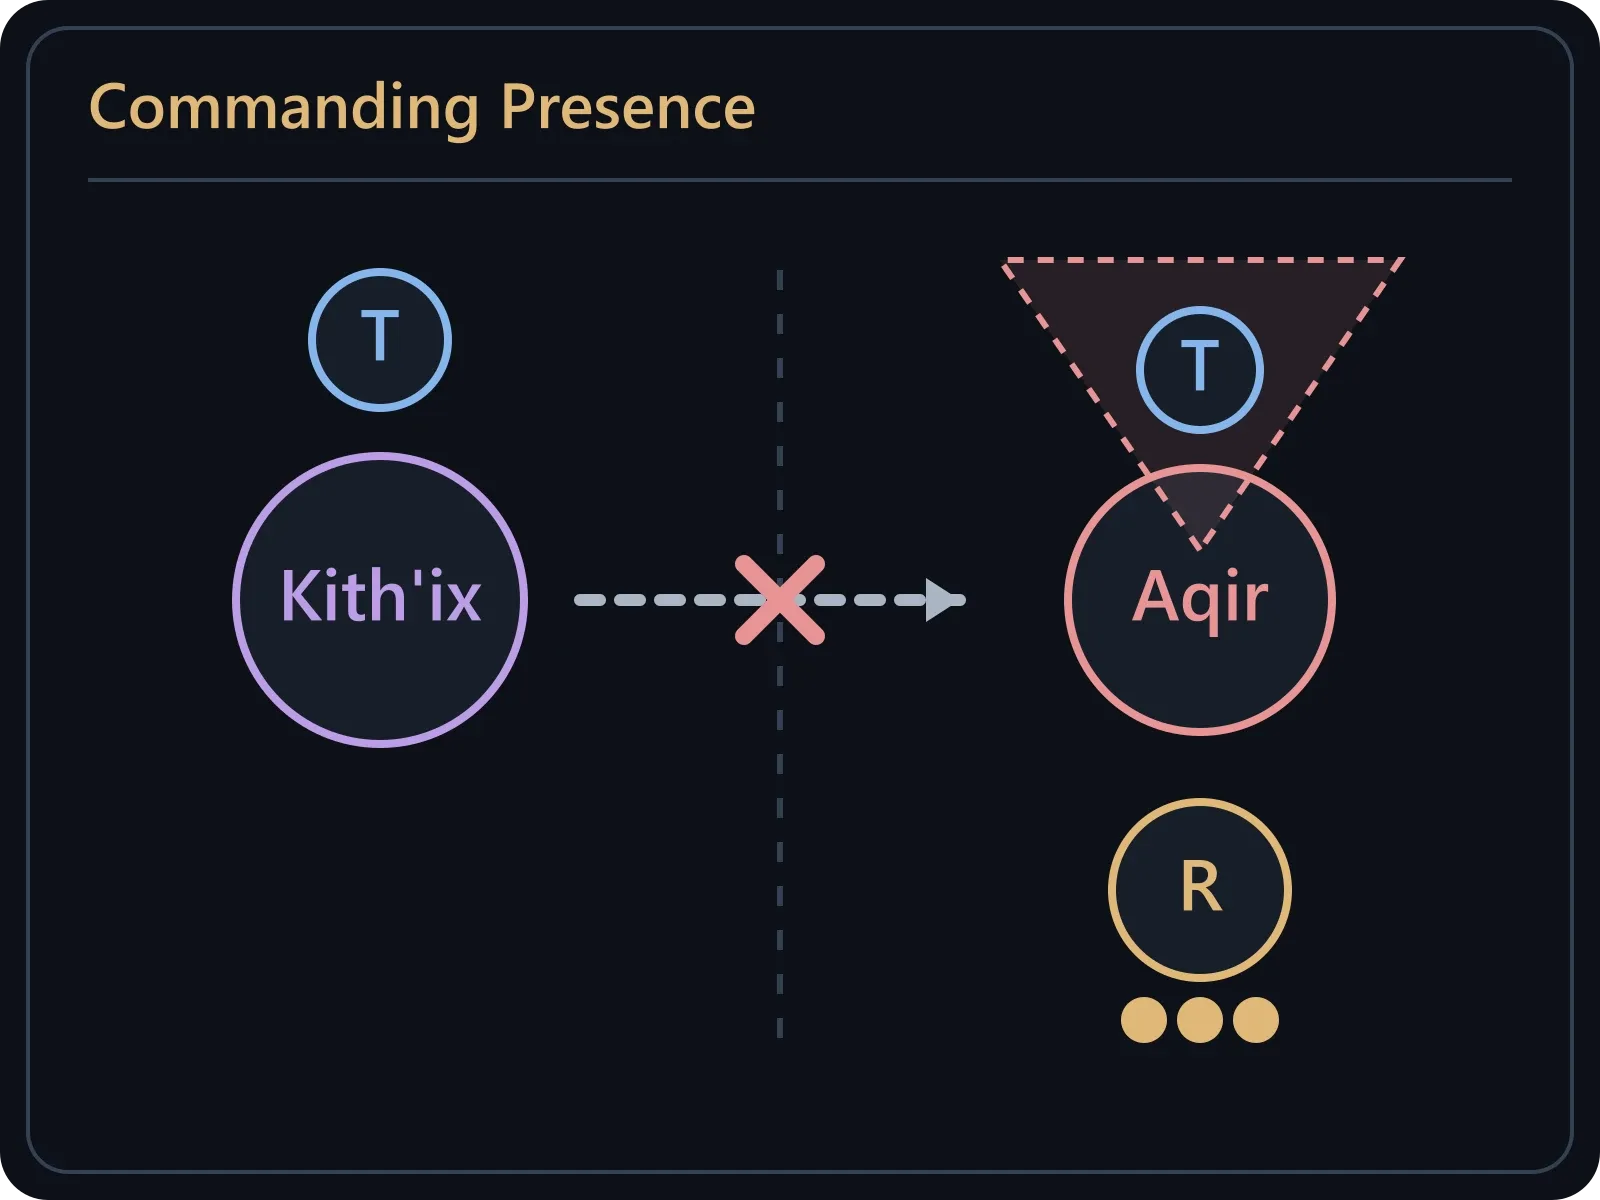
Keep the add group away from Kith'ix; face its frontal out.
Bomber Beetles punish simultaneous detonations. Their shared Digestive Juices damage means that three individually survivable explosions can become one lethal overlap. Let the coordinator release one beetle, check the debuff has cleared, then handle the next. Fixated players must preserve that order instead of running into the group.
The wave is not finished when the large enemies die. Destroy their Incubation eggs before they produce Mindstingers. As Kith'ix approaches 100 energy, prioritise cleanup: surviving aqir gain Dark Frenzy when darkness begins. Boss damage that leaves an empowered wave alive is a poor trade.
For Extinguish, take a fresh Light's Embrace mote close enough to the hit for its short protection to remain active. A mote collected much too early is not a completed assignment. Use a personal defensive as support; do not assume every class can replace the mechanic with an immunity.
Players receiving Unspeakable Horrors need distance before Overwhelming Fear is dispelled. Healers should confirm the player's position and stagger removals when required, rather than instantly dispelling everyone inside the raid. Keep their exit route separate from other players' urgent jobs.
Dodge Twisted Appendage tentacle paths throughout the phase; move early enough to keep the tank and fear exit lanes clear.
Tanks swap after Dark Devastation. On Heroic it leaves a Voidscar, so the landing position affects the coming intermission. Keep the hit away from teammates and place scars where the raid can intercept their fragments without abandoning Liadrin's protected area.
At 100 energy, regroup within Liadrin's Refulgent Bulwark. Her light is the safe working space, not permission to stop responding: tank swaps, fear handling and Extinguish still matter.
Healers must remove Abyssal Grasp's healing absorb within 8 seconds or lose the dragged player to the darkness. Assign focused healing to the affected player instead of spreading every heal across people who are already safe.
Intercept Eclipse Fragments before they reach Liadrin. Each miss shrinks the sanctuary; each interception also hurts nearby players, so rotate collectors and avoid piling multiple pickups on the raid. A useful call names the next collector and the lane, not simply “soak”. When Divine Radiance ends the intermission, reset positions for the next wave. Later cycles become more demanding as Liadrin grows exhausted.
Diagram · Refulgent Bulwark
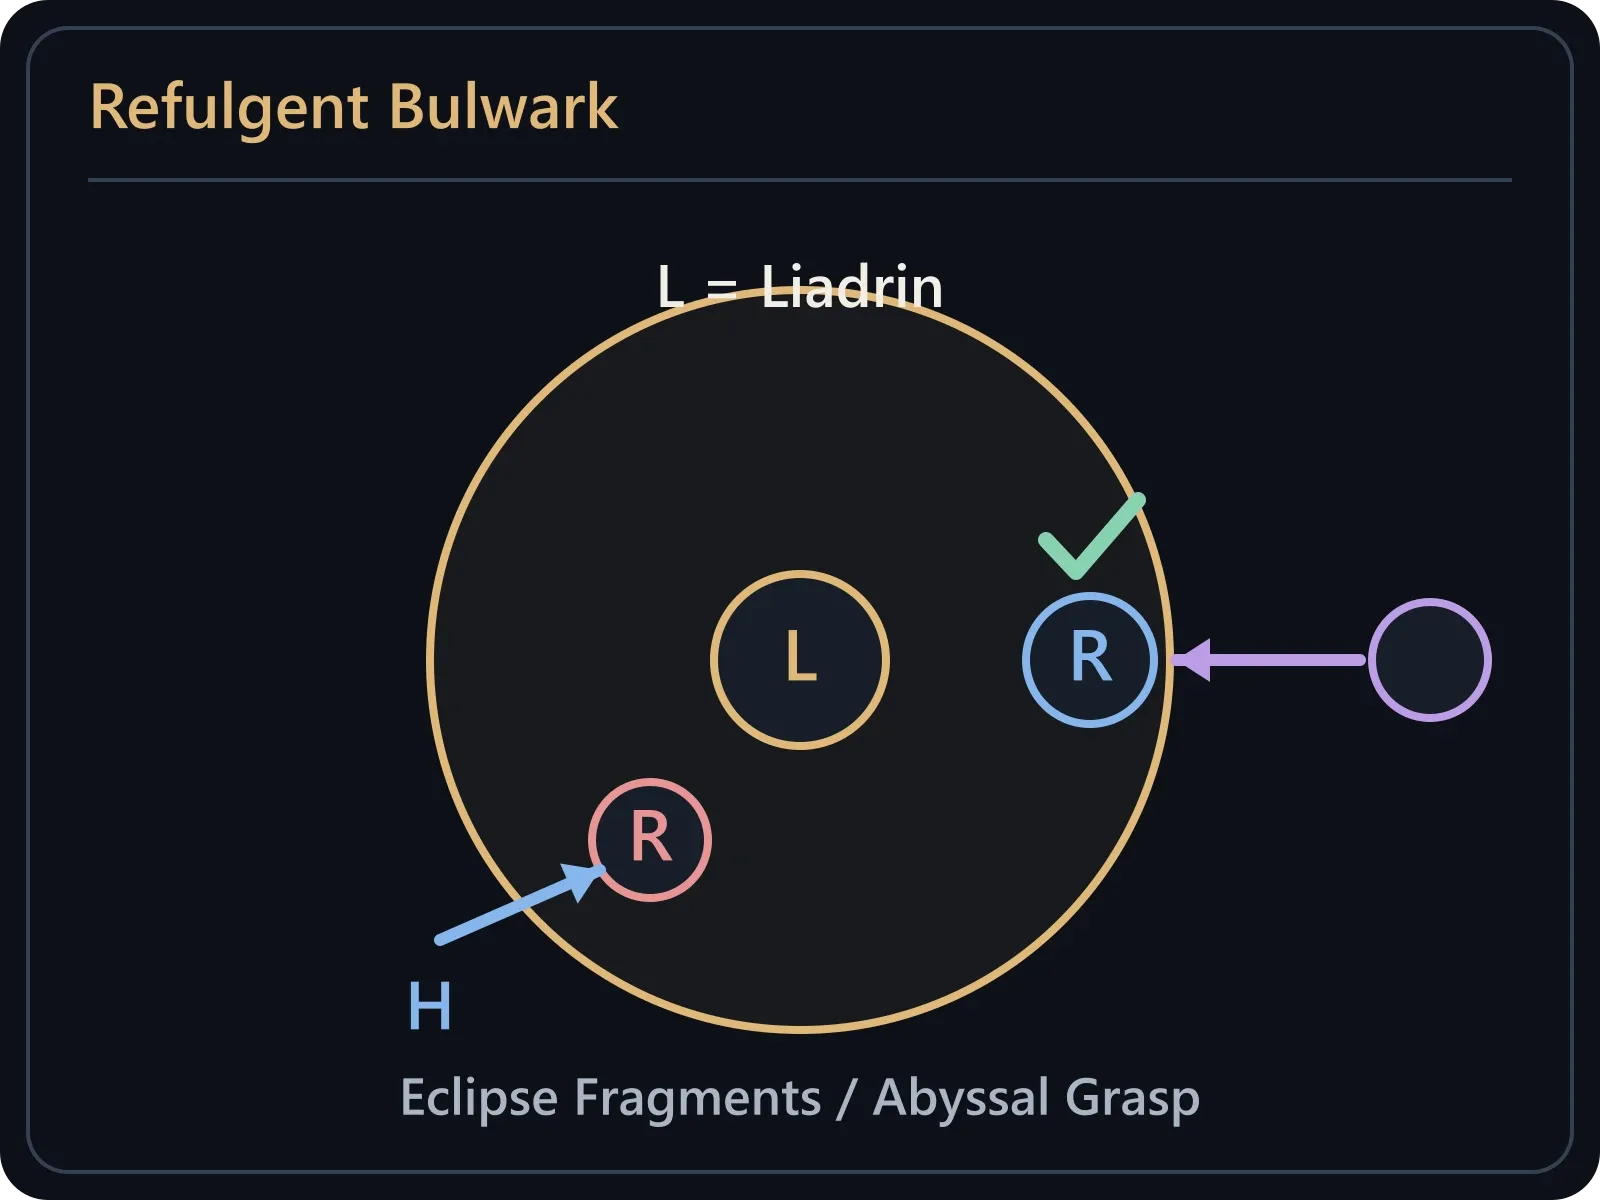
Intercept fragments before they reach L (Liadrin), rotate collectors, and heal the R affected by Abyssal Grasp inside the sanctuary.
The 25% health transition clears the earlier phase and begins Last Light. Use the damage window and your planned Bloodlust/Heroism. This is a race against Eightfold Eclipse: the eighth eclipse ends the attempt.
Players marked for Null Gate should leave the group and place separated gates. Everyone else dodges Nullshards: five Nullify stacks kill on Heroic. Do not import the different Mythic threshold into these calls.
The active tank must remove Negation by entering a Null Gate before its 8-second Heroic deadline. This triggers raid damage and clears nearby gates and shards. Coordinate the cleanup with healing and preserve a reachable gate for the next affected tank; dropping every gate together can remove all your options at once.
| What happened | What to review before the next pull |
|---|---|
| Darkness started with the raid already falling behind | The last add/egg cleanup and beetle overlap, not only healing totals |
| The sanctuary became unusably small | Voidscar placement, missed fragment lanes and collector backups |
| A tank died late while most players were alive | Negation timing and whether a usable gate remained within reach |
For the next attempt, change the failed handover first. A short call such as “finish eggs, move into light; next collector takes left; fear exits right” gives players a sequence they can act on. It is a suggested communication pattern, not a claim about a tested guild run.
Smaller Blood Venom pools affect Heroic and Mythic. Other November 5 raid nerfs have narrower scope. Check the exact mode before changing your next pull.
Blizzard lists three level-60 Forever raids for December 9. Compare the 10/20/40-player formats and prepare each player’s Onyxia entry before booking a run.
Prepare a better Midnight raid night: choose a realistic goal, cover boss jobs and backups, brief clearly, and turn wipe reviews into one useful change.