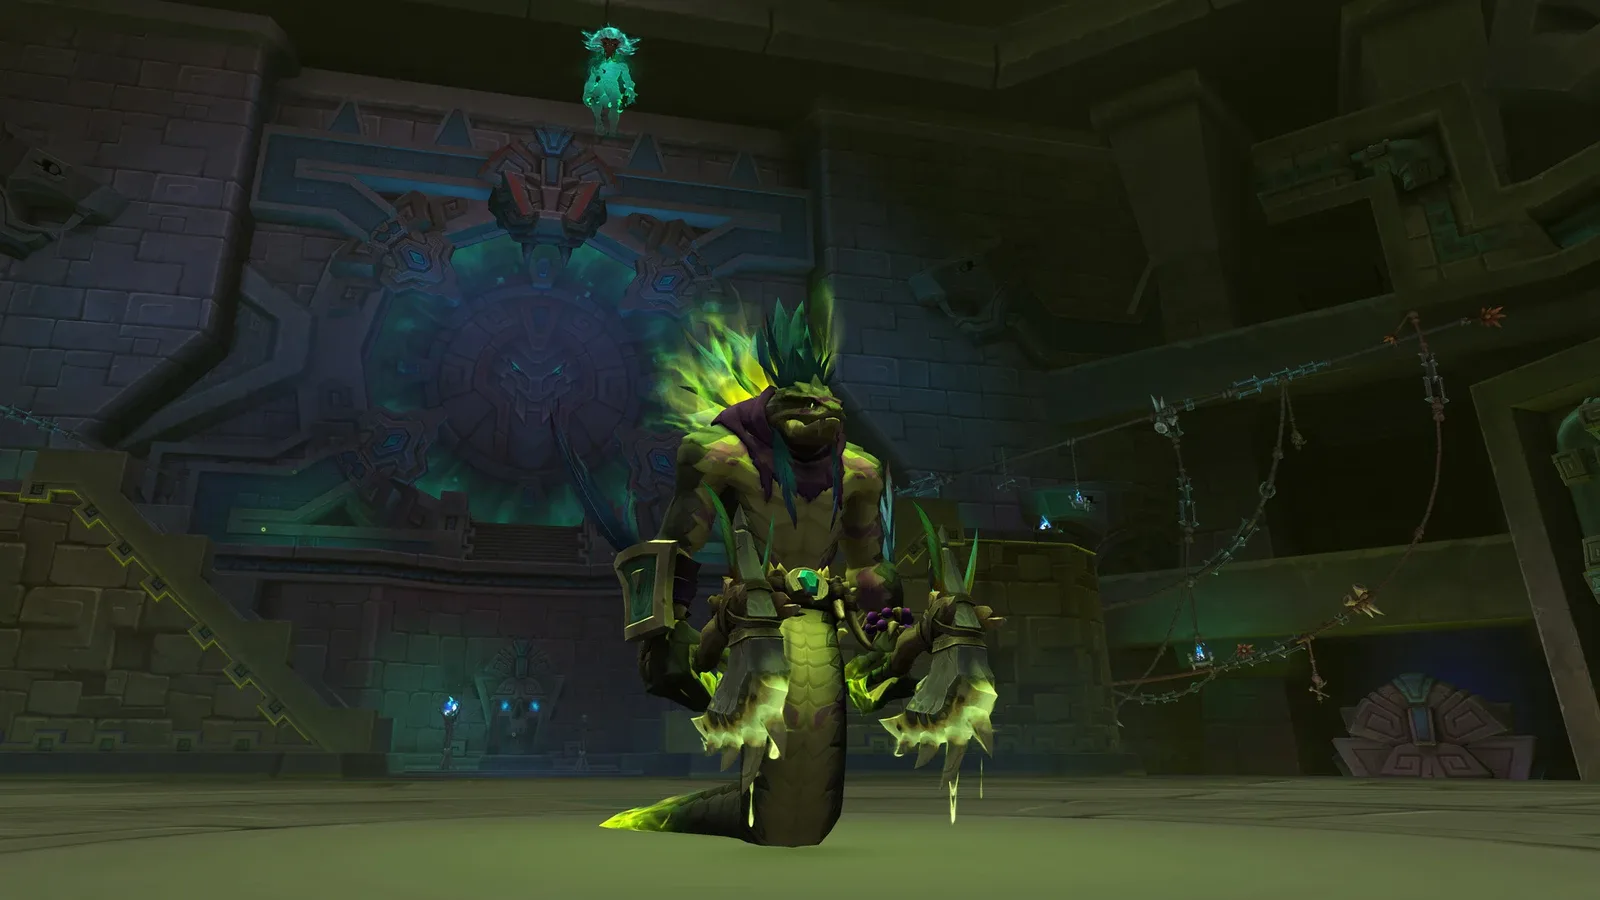
Venomous Abyss November 5 Hotfixes: Heroic and Mythic
Smaller Blood Venom pools affect Heroic and Mythic. Other November 5 raid nerfs have narrower scope. Check the exact mode before changing your next pull.
 WoW AuditorGuides
Plan Ula'tek Heroic with two side teams, a shared tether queue, safe egg deliveries and three Serpent's Bite groups for the shrinking final platforms.
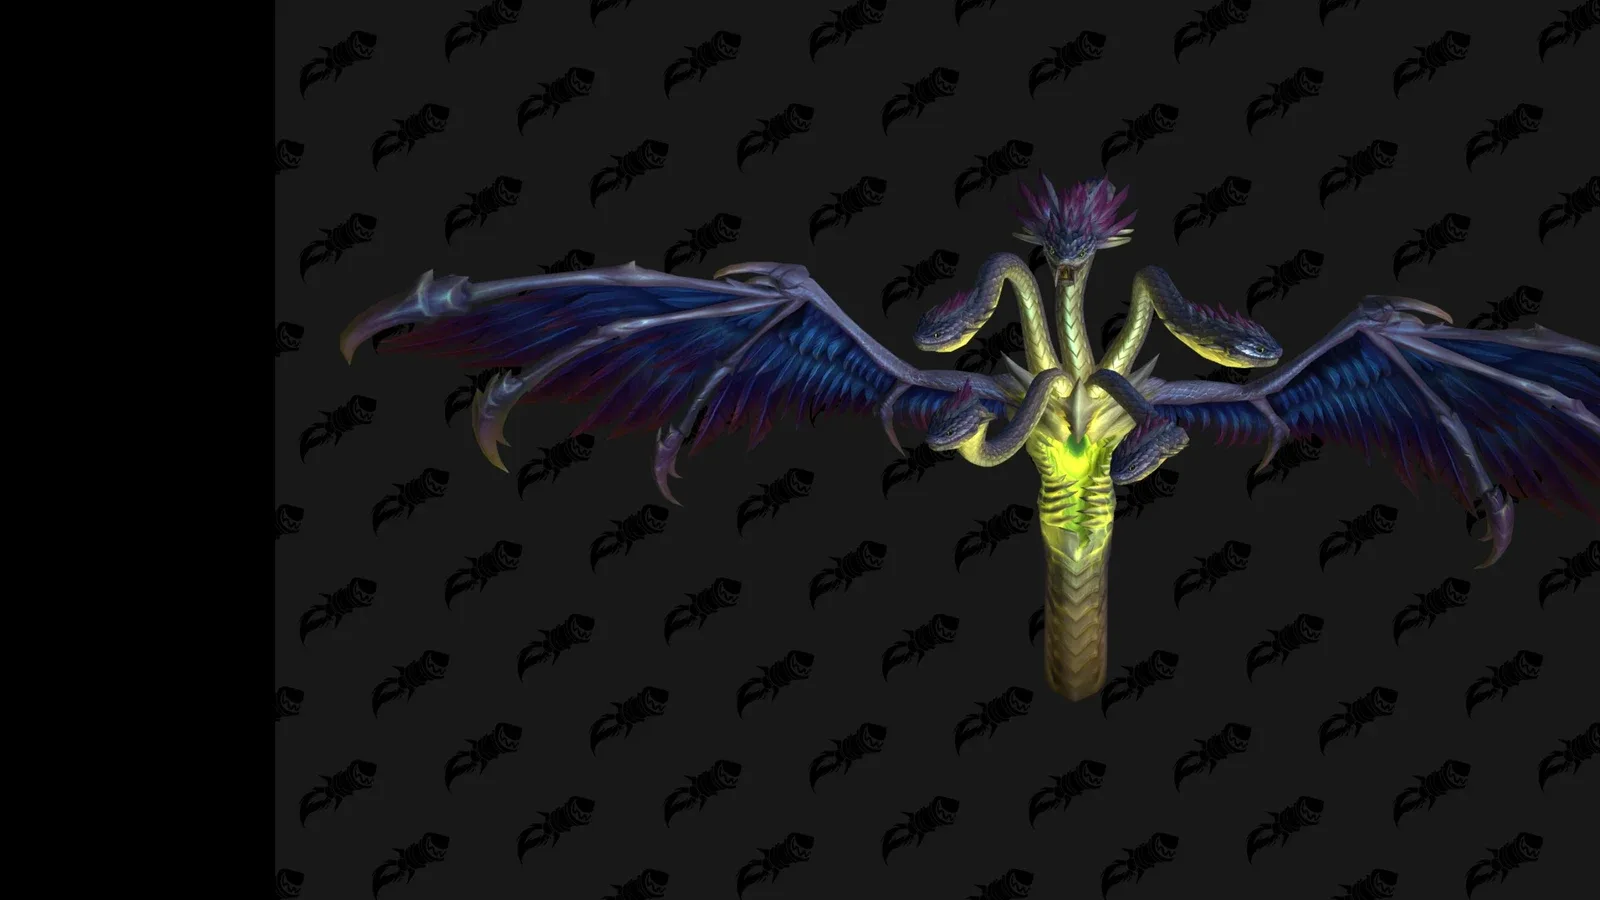
Keep carried eggs out of venom and break them in planned Coils. Cover both boss and tail with tanks. Use one raid-wide queue for tether breaks, collect small eggs before the Doomscale Egg and deliver it last. Alternate intermission Coils 1/3/5 and 2/4/6. Fully soak each Bite, then spread for Purge and rotate off the breaking platform.
Ula'tek rewards a raid that can preserve assignments while its available space changes. The first egg mistake creates extra enemies; an uncoordinated tether break burdens both side groups; leaving a Bite early can destroy an otherwise healthy final phase. Treat each handover as part of the encounter, rather than asking players to improvise after the next platform disappears.
This guide covers Heroic, Retail Midnight 12.1.5, checked on 4 November 2026 against Method's Heroic guide, Icy Veins and Wowhead's encounter reference. The live Heroic Venomous Heart and Serpent's Bite entries were checked separately. Mythic egg hardening and carrier proximity rules are outside this guide.
Cover: authentic game model of Ula'tek, viewed in Wowhead’s 3D viewer; © Blizzard Entertainment. This is a model reference, not a combat screenshot. Spell icons are Blizzard game assets, identified through the linked Wowhead records.
Ability names below are searchable English references. Open the linked Wowhead spell for its database entry; follow the Heroic instructions here rather than another difficulty’s default tooltip.
Caustic Waves — Read the wave telegraph; keep carried eggs out of venom.
Spectral Coils — Use the two assigned teams; in intermission alternate 1/3/5 and 2/4/6.
Grasping Fangs — Break two total across both sides, then wait for Blight Vein to expire.
Serpent's Bite — Stay in your assigned circle until the effect is fully removed.
Volatile Purge — Only after Bite completes, spread before the five-second eruption.
T = tank; H = healer; R = assigned player/group. Arrows show movement or sequence; dots represent players or objects as described in the caption. Schematic, not to scale or a map of the actual arena. English labels match the linked abilities.
Split into two balanced teams, each with a tank, healing, interrupts and a way to cross to its side corridor. Name one mobile Doomscale Egg carrier per side and a backup. Reserve a return route: if using a Warlock gateway, account for the reuse restriction instead of assuming everyone can use it both ways.
Also assign three final-phase Serpent's Bite soak groups: melee, ranged and healer-target groups. Give the healer group enough additional damage dealers to share its job; “all healers” need not be a balanced third of the raid. Decide substitutes for deaths before pulling.
Touching one of the three starting eggs pulls the boss. Collect on the countdown, with pickup sectors for later spawns. Carry an egg to a scheduled Spectral Coils soak to break it in a controlled way. Venom hitting an egg or its carrier can instead hatch a dangerous Blightscale Viper.
Avoid Caustic Waves and venom water while carrying. Watch the wing Ula'tek draws back, move away from the first wave's side, then keep watching the tail and subsequent waves; the next wing sequence alternates. A collector who waits for the last instant to move risks both personal damage and a bad hatch.
Controlled breaks produce weaker Blightscale Rawlings. Gather them for incidental cleave without diverting the entire raid from its priority, but do not call them harmless: on Heroic they apply stacking Poisonous Bite. If a Viper appears, call it, tank it and kill it promptly, watching Petrifying Sting and its healing absorb. Repeated uncontrolled hatches add raid-wide Putrid Membrane pressure.
One tank covers Ula'tek and one covers Gore Rattle, the tail. Empty melee range triggers raid punishment. After Mother's Wrath pushes the boss tank away, return to the marked melee area and mitigate the following bites; plan help removing Hobbled. Arrange swaps during a safe cast window, after dodging the first waves, so neither target is left idle.
The two teams share their assigned Spectral Coils impacts. Heroic Soul Constrictor prevents players from mitigating the next Coils, so the same people cannot simply solve every consecutive impact. Coils also break carried eggs. When Ula'tek submerges, use the bubbles to identify her new position and get the tank there promptly.
During Rage of the Shackled, explicitly target the exposed Venomous Heart. It shares the boss's health and takes 100% increased damage for 20 seconds on the checked Heroic spell. An initial plan is Bloodlust/Heroism around the first Heart window and saved burst for the second; this is a strategy choice, not a mandatory timing for every roster. Keep dodging Falling Debris and cover the raid damage while attacking.
Cross by the agreed mobility plan rather than an unplanned swim. Kill each Doomscale Warden, interrupt Malice, and position it near growing Blightscale Clutches so assigned cleave breaks them before they mature. Dodge ground impacts; eggs remain protected while the Warden lives.
Grasping Fangs creates three tethers per side. Breaking one applies Blight Vein to the whole raid, including the opposite corridor. The queue must therefore be global. For example:
Diagram · Grasping Fangs
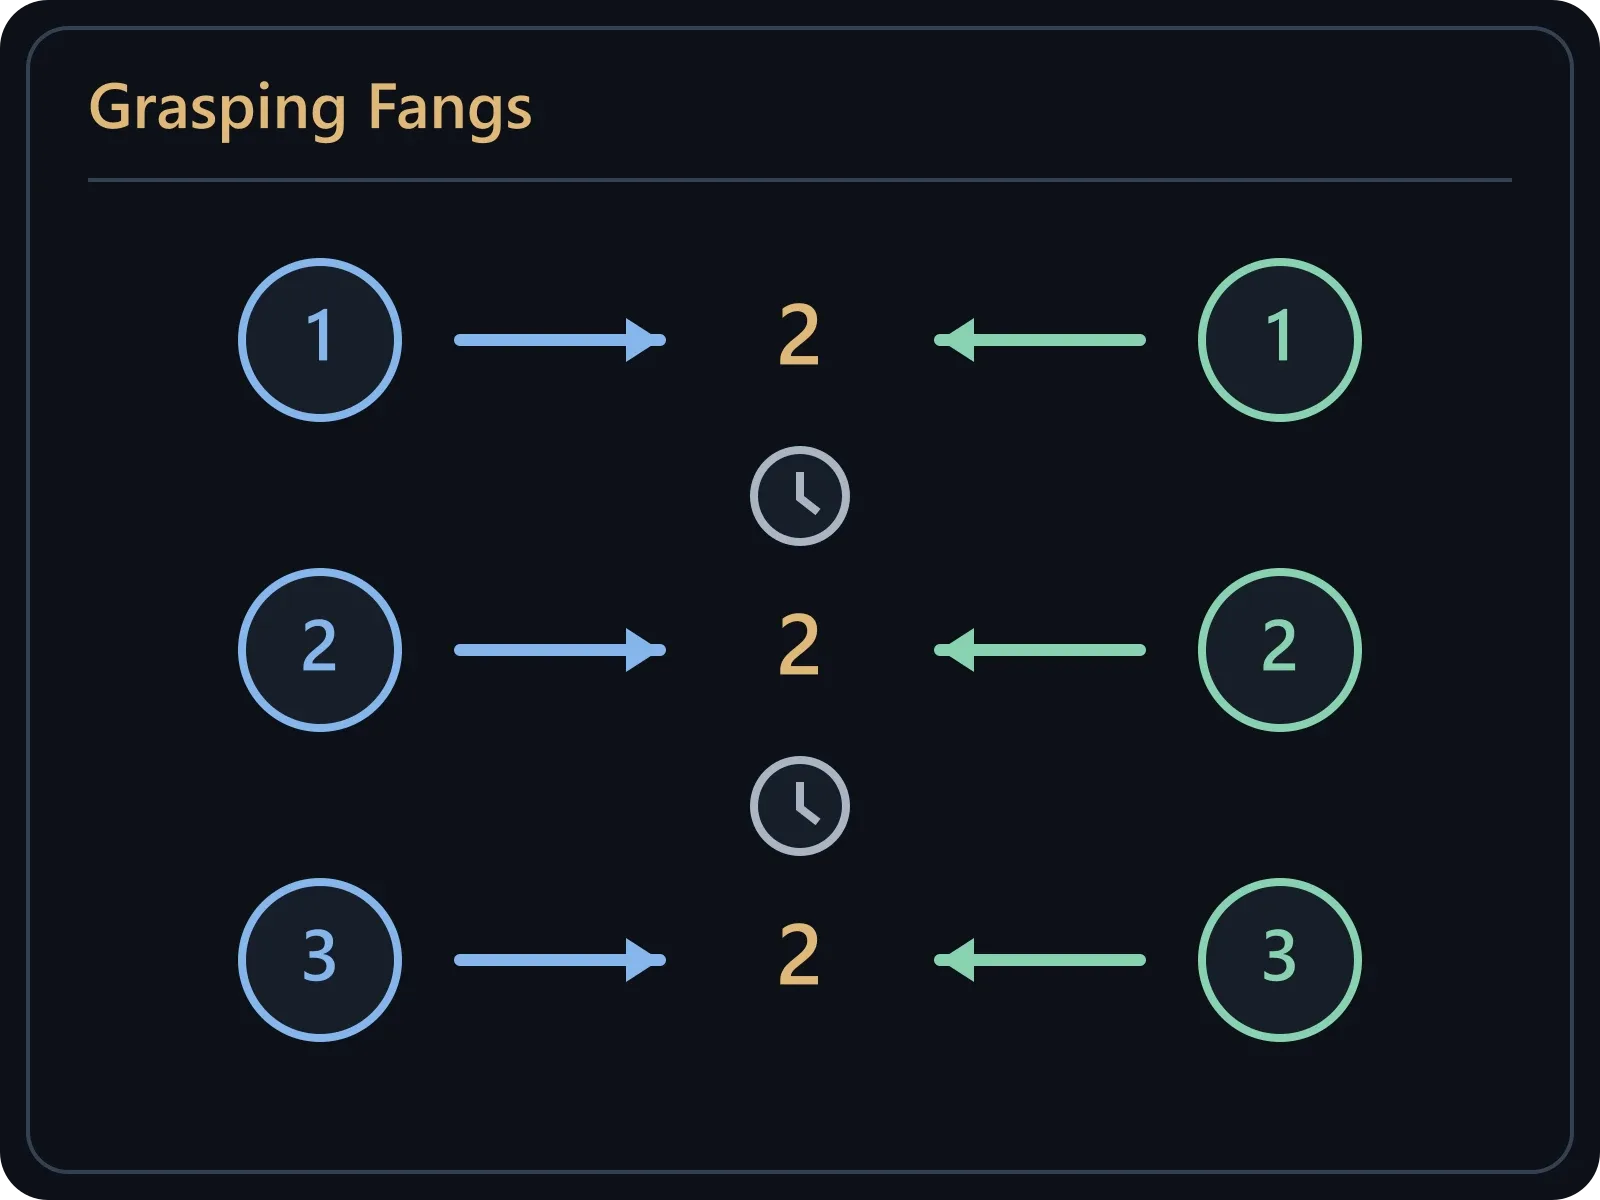
Each row is one shared pair: one break on each side makes TWO TOTAL. The clocks mean wait for Blight Vein to expire before the next row; never run two independent queues.
| Call | Players who break | Everyone else |
|---|---|---|
| First pair | Left one and right one | Wait and heal until the raid DoT expires |
| Second pair | Left two and right two | Wait for the DoT to expire again |
| Third pair | Left three and right three | Finish the Warden and prepare delivery |
These are assignment labels, not forced character positions. Two players on each side breaking simultaneously would be four raid-wide applications, not the planned pair. Use one caller and healers' confirmation.
After the Warden dies, collect the remaining small eggs first, then have the named carrier take the Doomscale Egg at the corridor's end. Disturbing the large egg starts Mass Gestation on remaining small eggs; careless early pickup creates another problem. Once carried, the large egg has a 20-second hatch deadline, so have a clear delivery route before touching it.
Deliver small eggs into Doomscale Cauldron first and the large egg last. The tank is there to collect spawned enemies. Interrupt Anguished Cry, focus the Weakened Doomscale, aim its frontal away, and use the reserved route back. Reunite for the next Heart damage window rather than leaving one side stranded.
Pick up new eggs and move between the rising spectral tails. Team one takes Coils 1, 3 and 5; team two takes 2, 4 and 6. Keep one caller counting casts and collect eggs between assigned soaks. After the final impact, move away from the middle as the arena breaks into four platforms.
Tanks and melee start on Ula'tek's platform; ranged and healers use the immediately counter-clockwise platform. Assign damage to every growing Clutch, including remote platforms, rather than expecting melee to reach all of them. Avoid their landing circles.
Serpent's Bite selects a melee, a healer and a ranged player. Each assigned group enters its target's circle and stays until the effect is fully removed. Touching it briefly is insufficient. An unfinished Bite becomes Calcified Corpse, with devastating raid consequences. Only after completion do participants spread for Volatile Purge, which erupts after five seconds. Check the wave gaps at the same time; do not convert a successful soak into overlapping Purges or a wave hit.
Diagram · Volatile Purge
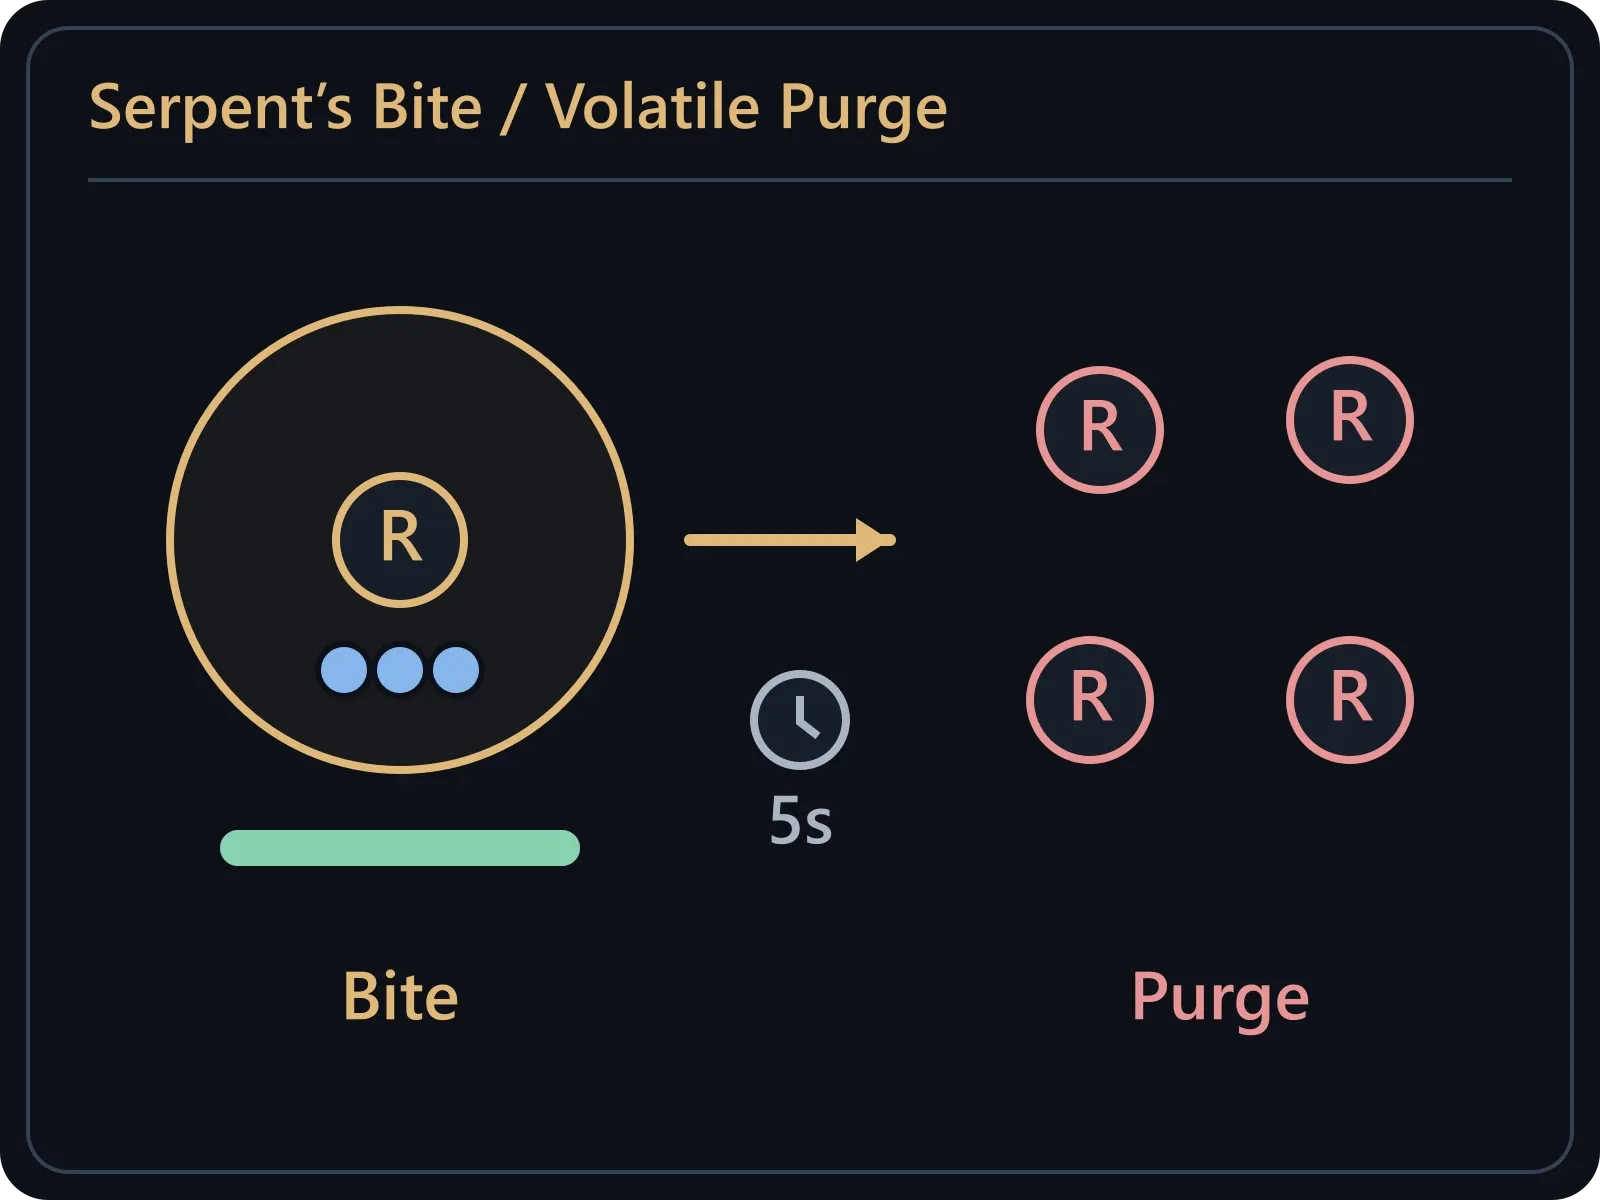
Stay in your assigned circle until the effect is fully removed. Only after Bite completes, spread before the five-second eruption.
For Circling Prey, leave the doomed boss platform before it breaks. Rotate counter-clockwise as a coordinated group and re-establish the relative boss/ranged positions on the remaining floor. Put personal and raid defensives on the pressured later breaks, particularly the second, instead of saving everything for a hypothetical last moment.
Taunt and rapidly kill Blightscale Shriekers that appear as platforms are lost. Interrupt Vicious Echoes; their stacking Acidic Expulsion makes leaving them alive expensive. The last available platform is a finishing window before Fury Unleashed and the loss of safe floor. Keep doing the last Bite, Purge and waves; a low boss health bar does not cancel them.
For review, separate four failures: bad egg routes, simultaneous tether breaks, early Bite exits and late platform evacuation. Fix one named assignment or call for the next pull. More boss damage cannot repair any of those after it has already happened.
Smaller Blood Venom pools affect Heroic and Mythic. Other November 5 raid nerfs have narrower scope. Check the exact mode before changing your next pull.
Blizzard lists three level-60 Forever raids for December 9. Compare the 10/20/40-player formats and prepare each player’s Onyxia entry before booking a run.
Prepare a better Midnight raid night: choose a realistic goal, cover boss jobs and backups, brief clearly, and turn wipe reviews into one useful change.