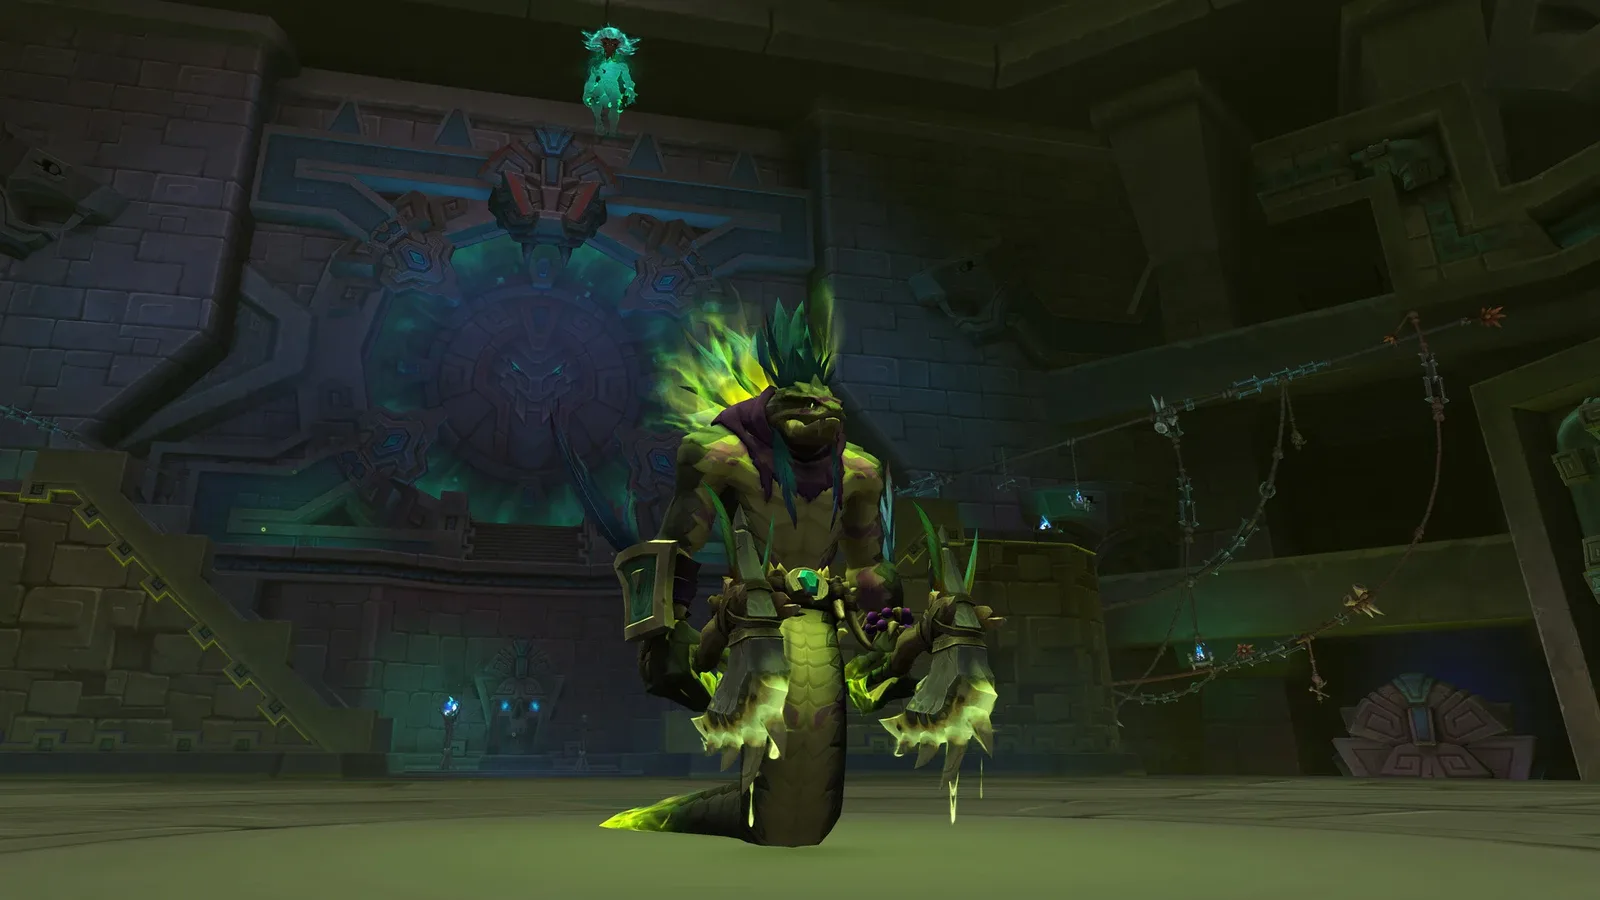
Venomous Abyss November 5 Hotfixes: Heroic and Mythic
Smaller Blood Venom pools affect Heroic and Mythic. Other November 5 raid nerfs have narrower scope. Check the exact mode before changing your next pull.
 WoW AuditorGuides
A clear Heroic plan for Entombed Sentinels: balanced damage, green-side priorities, red-side puddles, exact toxin pairs and tank swaps.
Updated
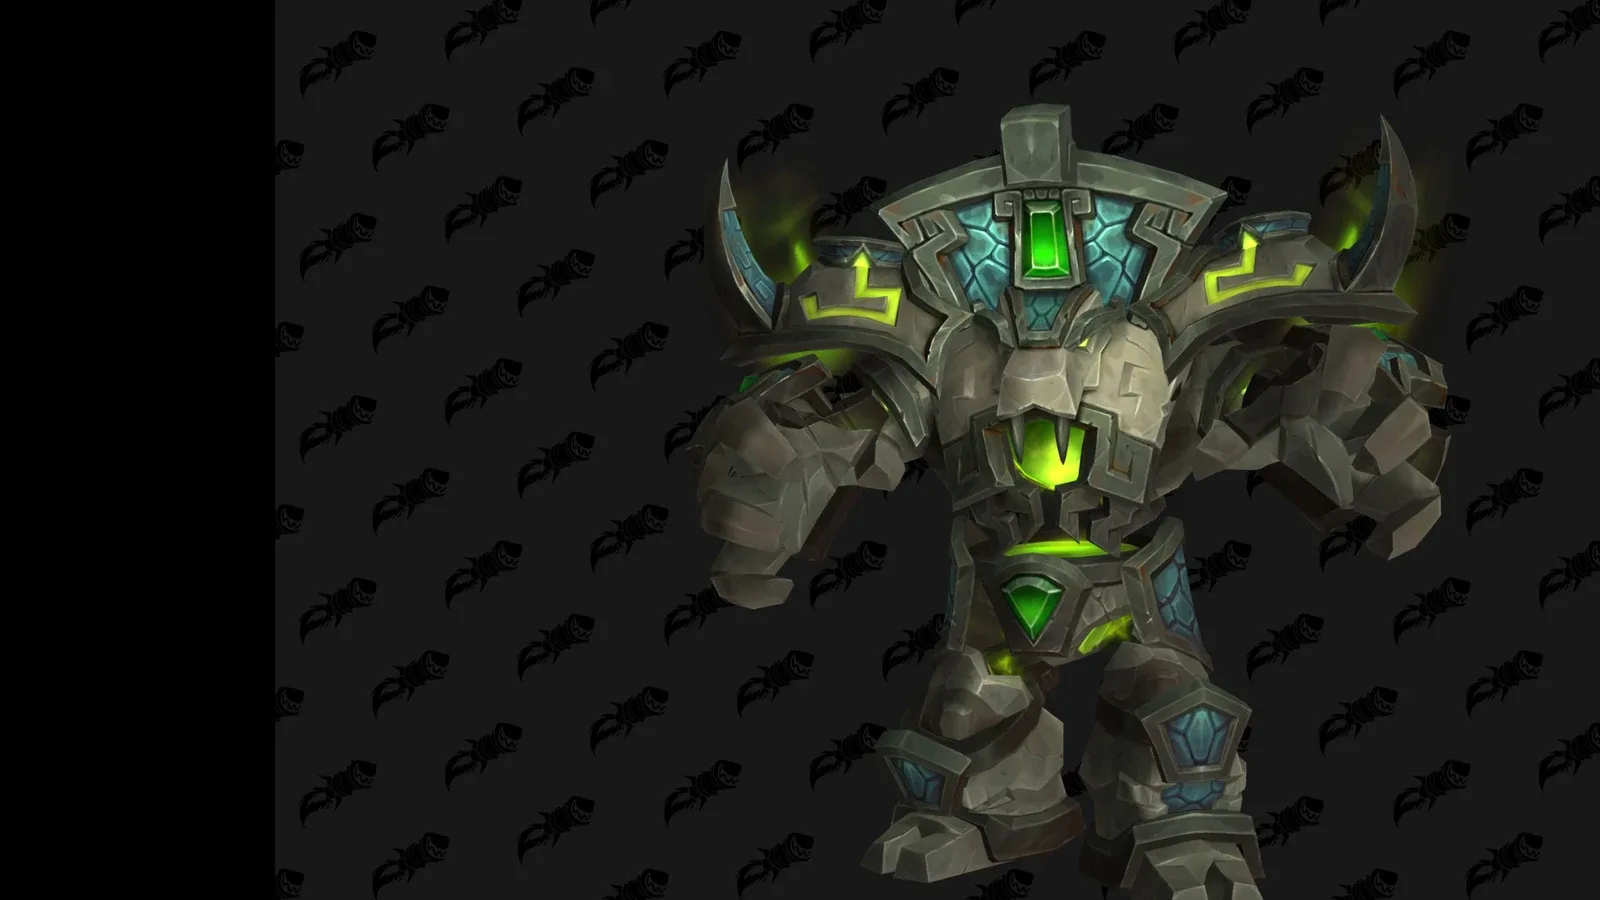
Keep the golems separated and their health close. Clear droplets and the large slime on green, share Miasma and place pools on red, then pair toxin counts to exactly four and change which golem each group fights.
The Sentinels ask the raid to solve two problems at once: keep two separate fights under control, then stop treating the intermission like a damage window. A team that wins its own health-bar race can undo its work when the weaker golem heals back up.
This guide covers Heroic, Retail Midnight 12.1.5, checked on 4 November 2026. Ability details were checked against Wowhead's encounter reference, Icy Veins' role breakdown and Method's Heroic strategy. The assignments below are a proposed progression plan, not a fixed raid composition.
November 5 hotfix note, checked November 6: Blizzard reduced the maximum scale of Blood Venom pools on Heroic and Mythic. The new two-minute pool duration is Mythic only. Keep the drop plan while reassessing the available space. Official changes; difficulty breakdown.
Cover: authentic game model of Breath of Ula'tek, viewed in Wowhead’s 3D viewer; © Blizzard Entertainment. This is a model reference, not a combat screenshot. Spell icons are Blizzard game assets, identified through the linked Wowhead records.
Ability names below are searchable English references. Open the linked Wowhead spell for its database entry; follow the Heroic instructions here rather than another difficulty’s default tooltip.
Toxic Droplets — Share pickups, then step out of the returning venom line.
Living Venom — After a pickup, do not stand between that spot and the green golem.
Unstable Miasma — Share the hit first; then move to the agreed pool-drop area.
Helical Toxins — Pair exactly 1+3 or 2+2; over four is lethal on Heroic.
Vitriolic Stasis — Balance boss health before Stasis; resolve toxins and exchange bosses afterward.
T = tank; H = healer; R = assigned player/group. Arrows show movement or sequence; dots represent players or objects as described in the caption. Schematic, not to scale or a map of the actual arena. English labels match the linked abilities.
Give each side a tank, healing coverage, a caller and enough damage for its mechanics. Balance usable damage rather than simply splitting the headcount: green must kill a priority add while red needs reliable attendance for its group soak.
Use opposite sides with ample separation; more than 40 yards between golems is a practical starting placement. Ula'tek's Dominance protects golems that are too close. Players must also avoid casually standing in range of both Mark of Acid and Mark of Blood. A player gaining both marks should fix position before asking for more healing.
At 100 energy, Vitriolic Stasis starts. The lower-health golem heals toward the healthier one while both take heavily reduced damage. Compare health before this point and redirect damage early. For example, if green is well ahead, green players can reduce boss damage while finishing their required slime and droplets; red should not skip Miasma to catch up. Bloodlust/Heroism on the pull is a reasonable opening plan; spending it into Stasis wastes its value.
Diagram · Vitriolic Stasis
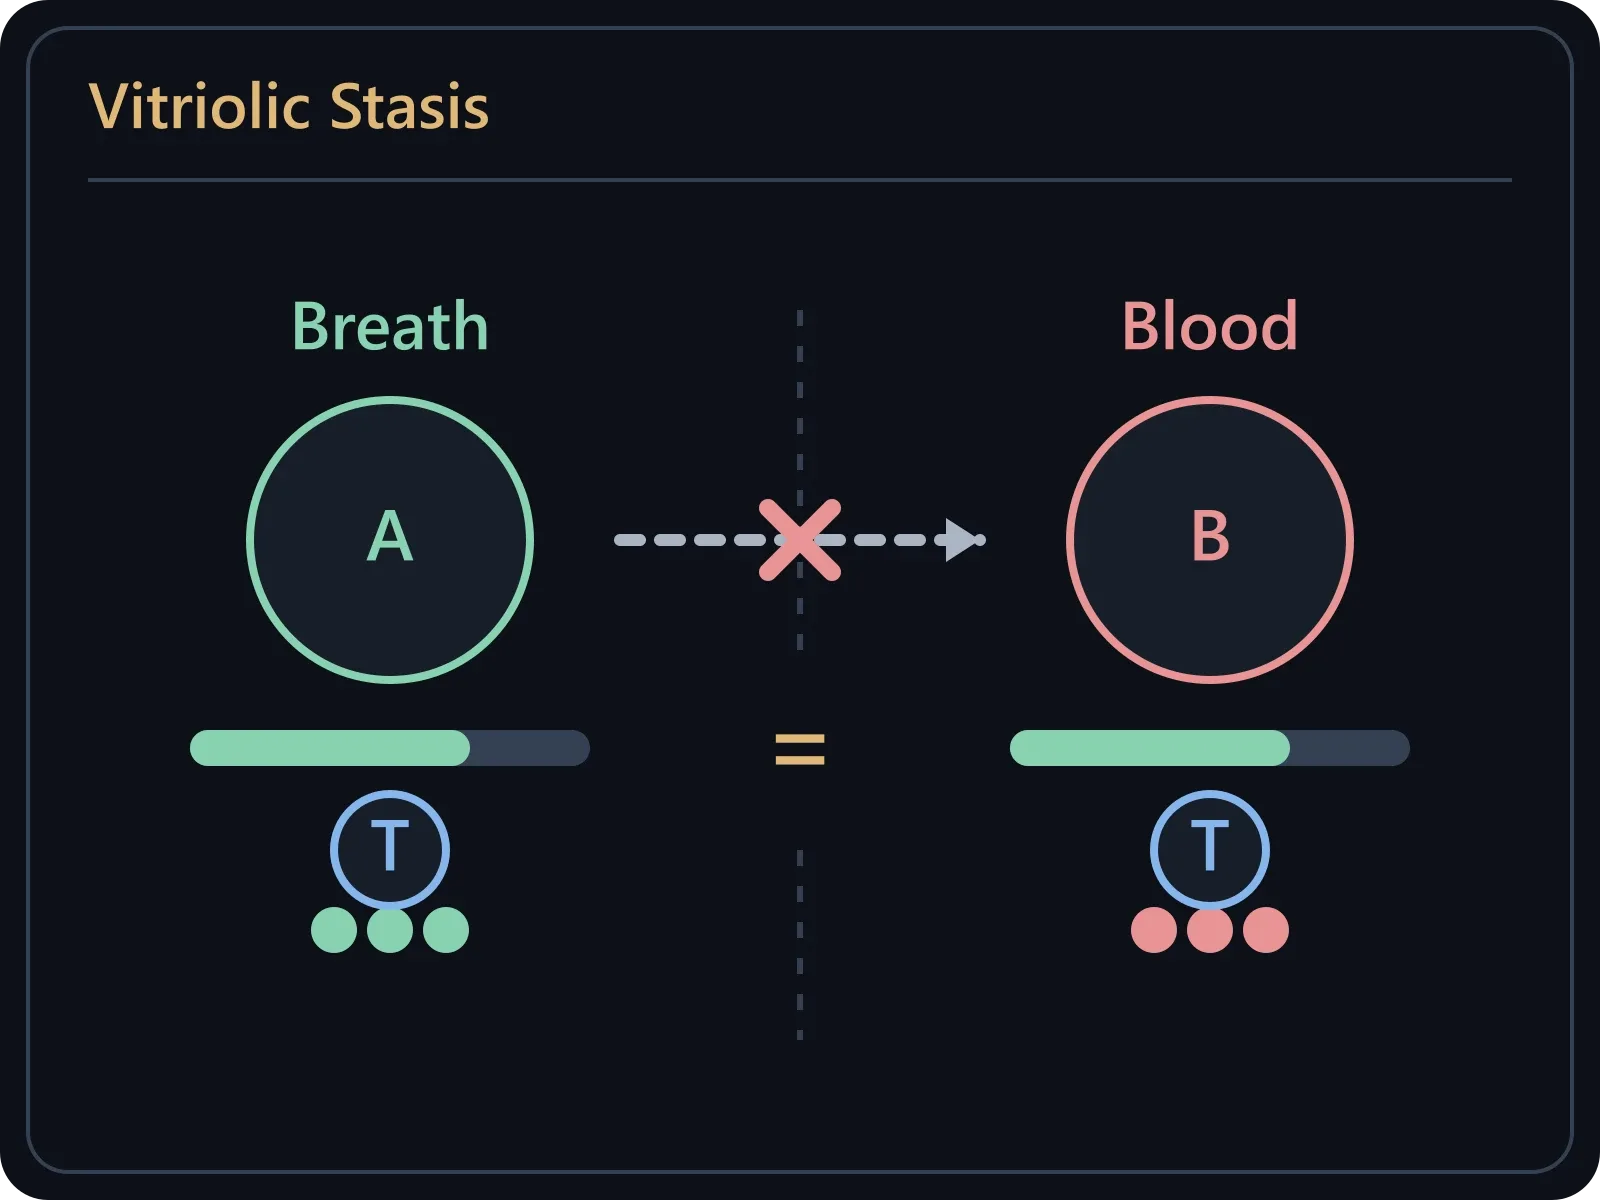
A = Breath of Ula’tek; B = Blood of Ula’tek. Keep groups separate and health balanced; the bars illustrate balance, not a required health percentage. Balance boss health before Stasis; resolve toxins and exchange bosses afterward.
The Breath of Ula'tek creates three connected tasks:
The tank plans mitigation for Empowering Slam, which becomes more dangerous while hitting the same tank. Tell healers before a late hit overlaps high mark stacks. The planned tank exchange after Stasis changes its target; it is not an excuse to ignore mitigation before the exchange happens.
The Blood of Ula'tek needs a clean group-soak position next to an agreed pool area. Keep advancing that working position as the edge fills, without dragging the team through existing pools.
Unstable Miasma resolves after 8 seconds and splits damage between nearby players. Gather the assigned group inside the displayed circle. After the hit, Clinging Murk expires into Blood Venom pools on Heroic: move toward the approved drop area before expiration, then return to the next clean position. Running away before sharing the hit and staying in the middle after it are different mistakes.
Assign prompt Blighted Blood dispels and keep a route to the pool area for blood effects that will expire. Tanks also watch Bloodvenom Injection after the swap: the old debuff can still expire and leave a pool after the tank has taken the other boss. “I am no longer on red” does not mean the previous effect has vanished.
Helical Toxins gives each player a visible toxin count. Colliding combines counts; exactly four clears the effect. Count the green toxin indicators, not the total number of coloured decorations above the character.
| Your count | Partner's count | Result |
|---|---|---|
| 1 | 3 | Clears at 4 |
| 2 | 2 | Clears at 4 |
| 3 | 1 | Clears at 4 |
Diagram · Helical Toxins
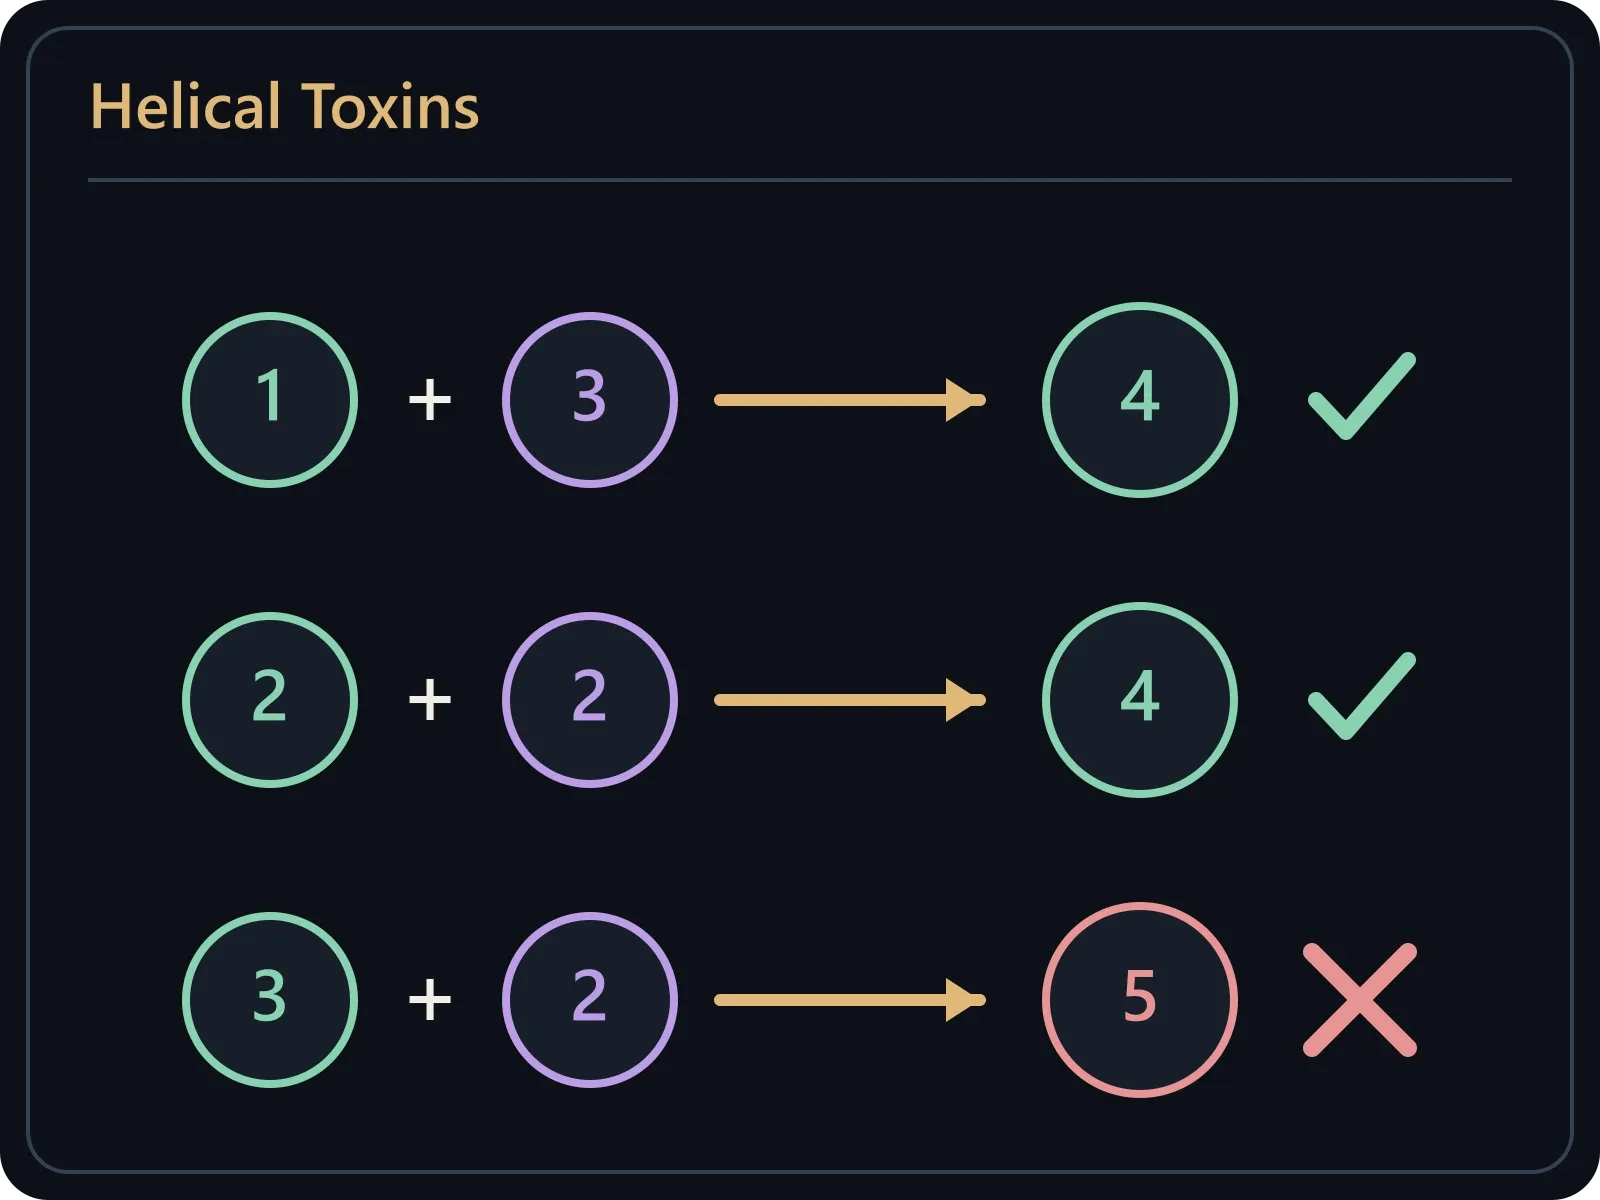
Numbers are toxin stacks on two players, not a group size. Only an exact total of four is a valid pair. Pair exactly 1+3 or 2+2; over four is lethal on Heroic.
This is a two-player pairing, not an instruction to gather four people. On Heroic, a collision that takes the count above four is lethal. Read, name a compatible partner, approach through a clear lane and separate after resolving it. Unrelated players should not run through a pair's meeting point.
If no compatible player is immediately visible, call your count and hold a readable position instead of colliding at random. An uncleared effect also punishes its target when it expires with Cultivated Burst. Call for help early; do not assume a personal immunity guarantees recovery from a wrong merge.
Use one consistent exchange plan. For example: groups return to their original sides, tanks taunt the other Sentinel and bring it to that side. Each group now fights the opposite golem, allowing its previous mark to expire. Announce the incoming colour so players switch from their previous job list to the correct new one.
Before resuming damage, check three things: golems separated, old blood debuffs placed safely, and both teams accounted for. Then restart green pickups/priority damage and red soak/expiry movement. If health keeps rebalancing by a large amount, adjust the teams' damage allocation; if players keep dying after the exchange, inspect old debuffs and mixed marks before adding healers.
A short raid note can read: “Separate and balance → green clears slime and droplets, red shares then drops → at 100 pair to four → tanks take the other boss, groups keep their side.” It is a suggested communication aid, not a claim about a recorded guild kill.
Smaller Blood Venom pools affect Heroic and Mythic. Other November 5 raid nerfs have narrower scope. Check the exact mode before changing your next pull.
Blizzard lists three level-60 Forever raids for December 9. Compare the 10/20/40-player formats and prepare each player’s Onyxia entry before booking a run.
Prepare a better Midnight raid night: choose a realistic goal, cover boss jobs and backups, brief clearly, and turn wipe reviews into one useful change.